Friday 31 August 2018

Pretty in Pink

Hello my dear friends!

I can't hide that I am sooooo happy for that my cards were published by the Making Cards & Papercraft Magazine, for a first time! Yayyyyy :-)!
Here is one of them. Second one you can see in my post for the Crafteezee blog next week.
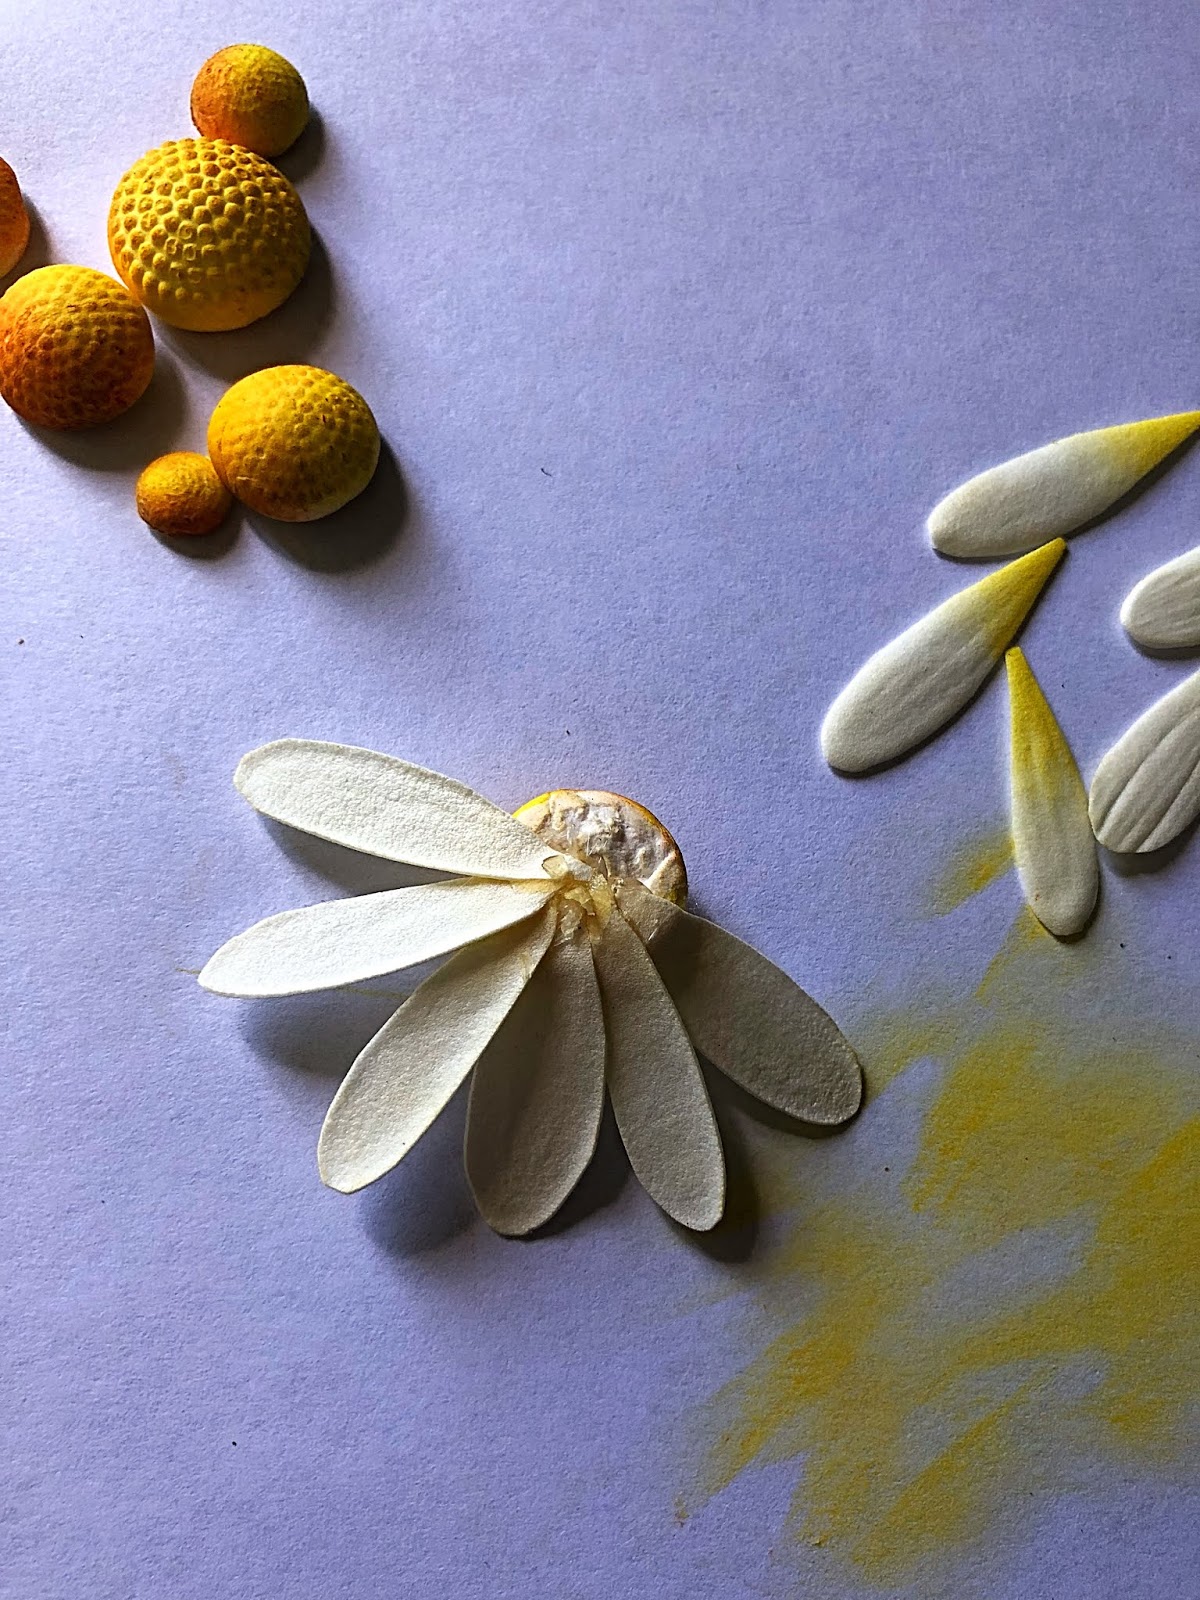
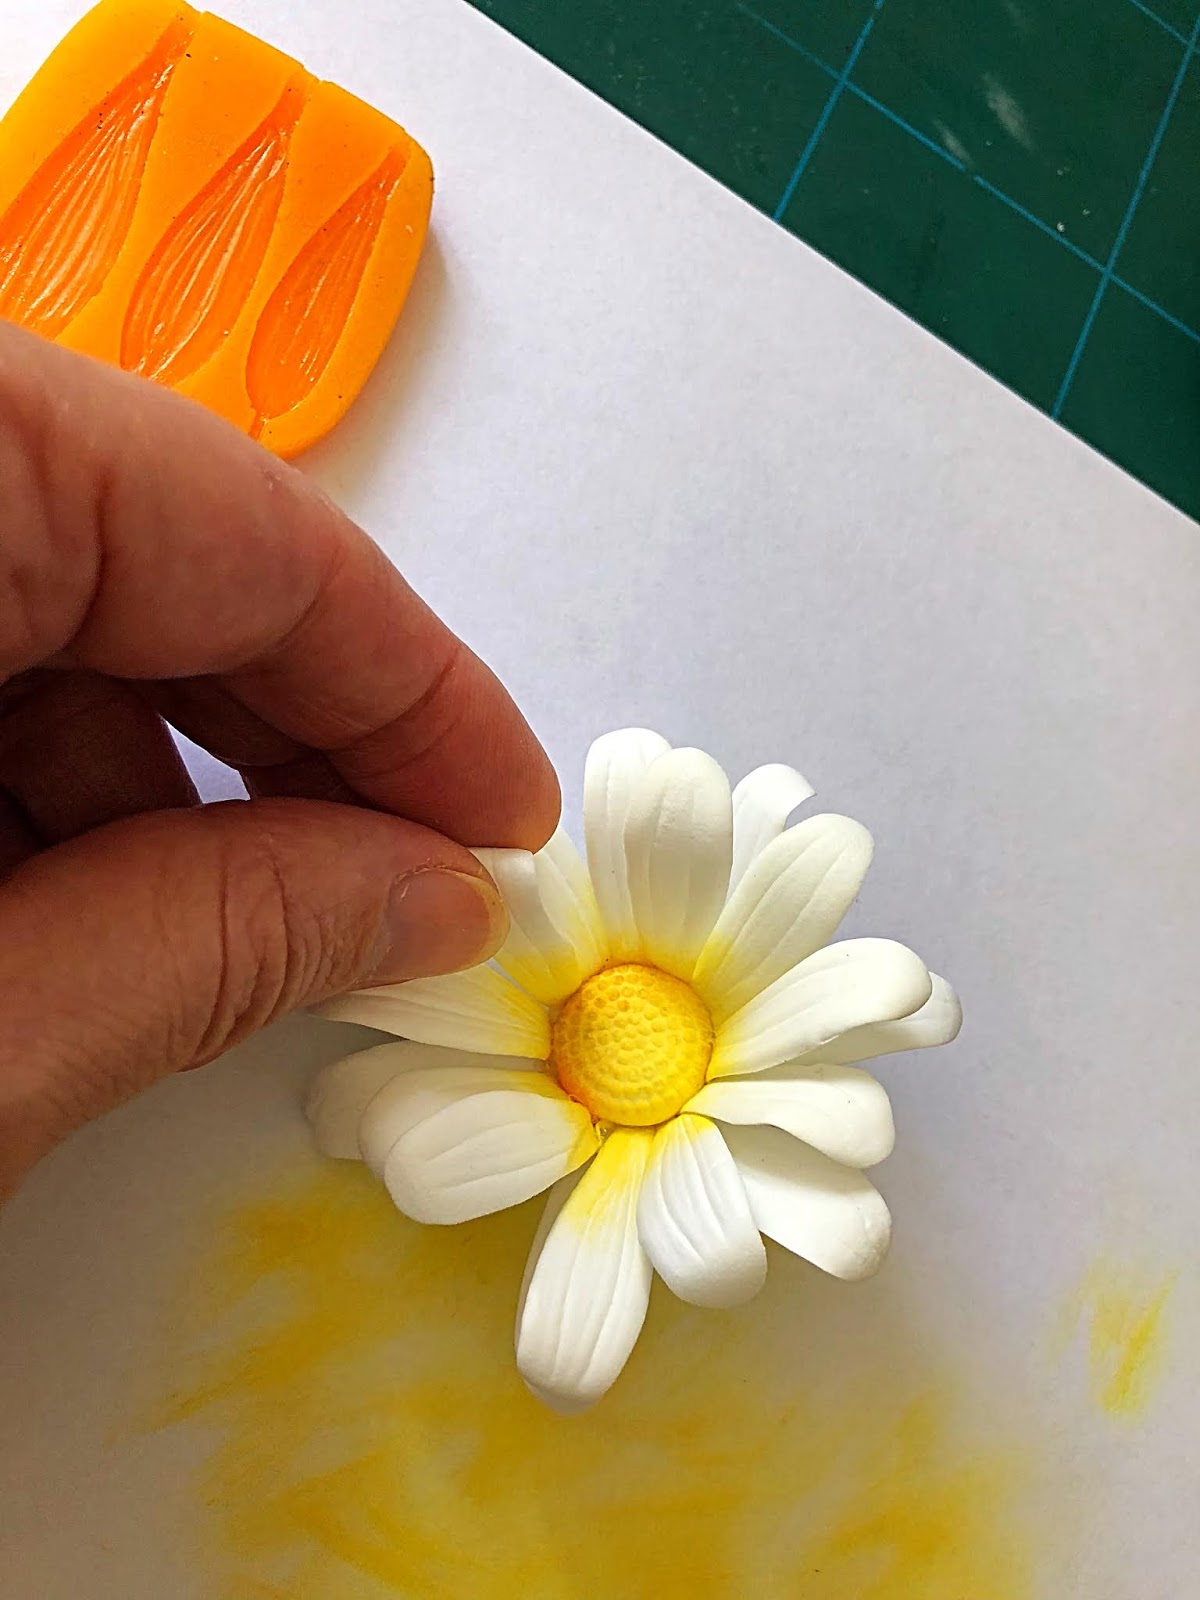
In the magazine there is a step-by-step tutorial how to make it. 
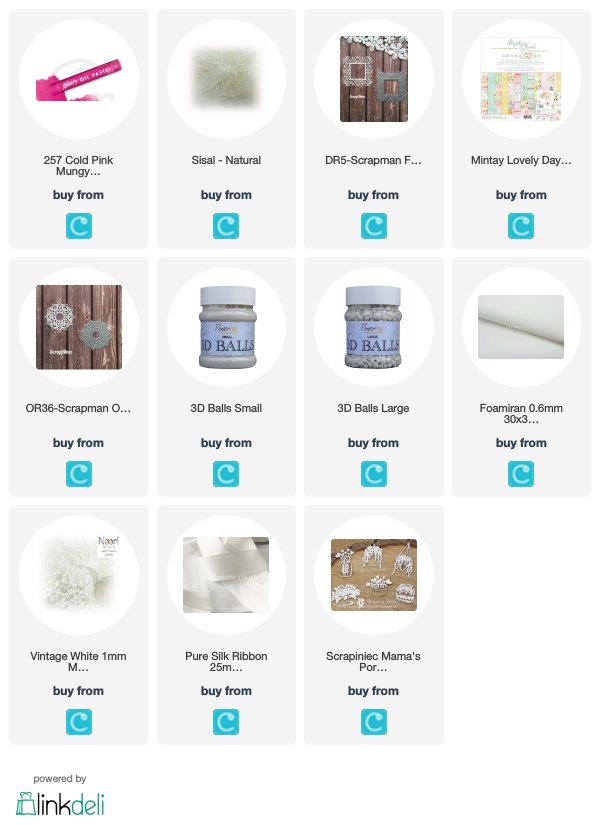
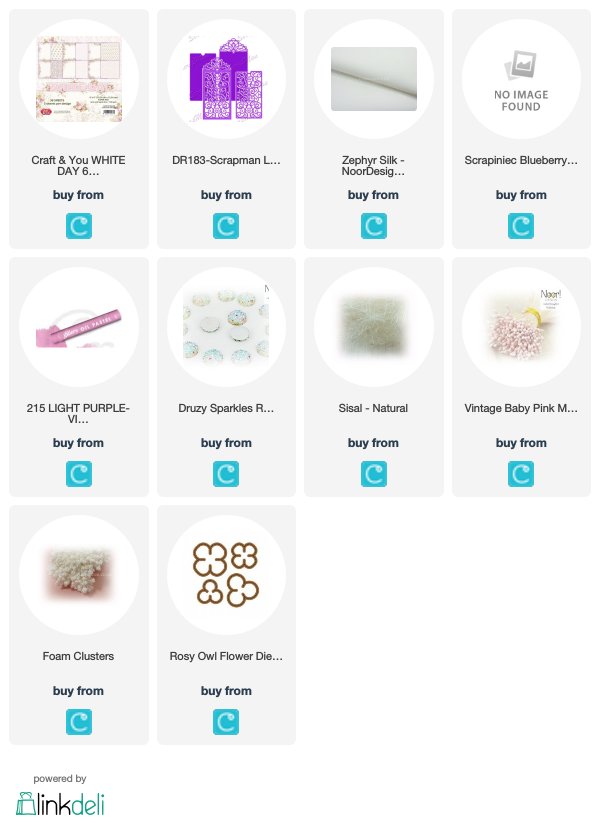
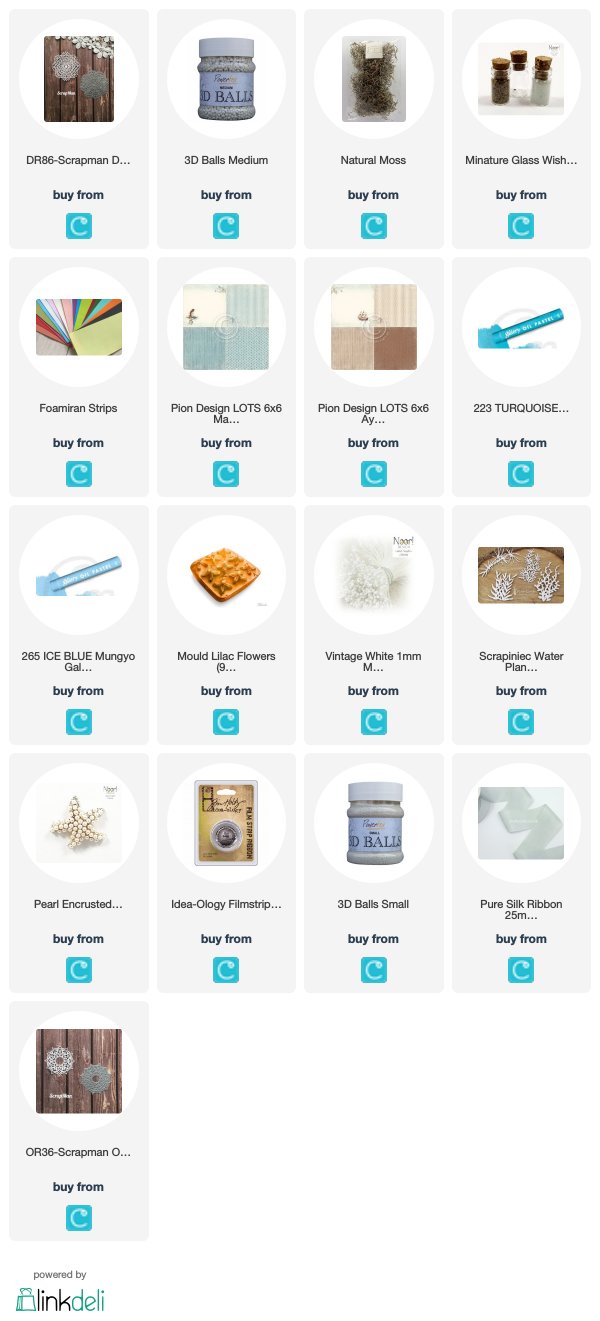
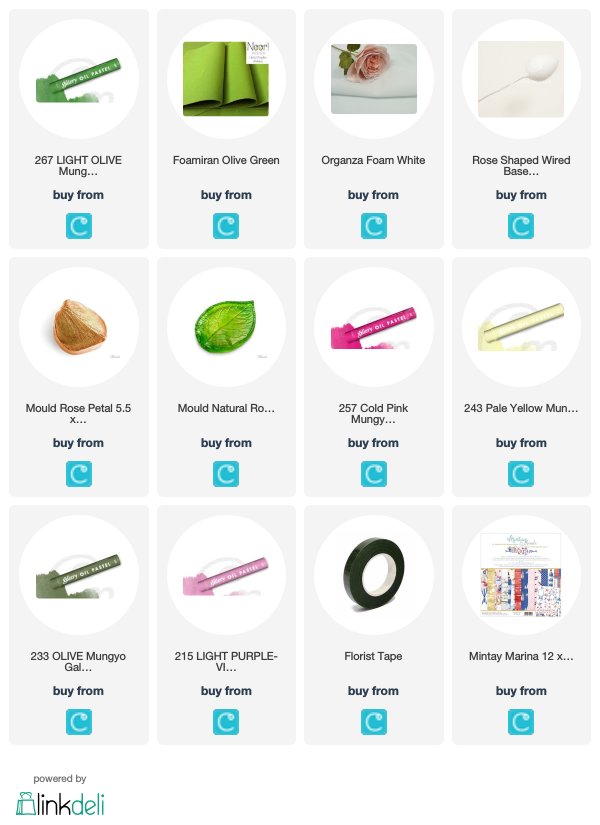
The card featured many beautiful items which are showed below.
Tracy, thank you very much for the opportunity given! You are an amazing craftier and a supportive, clever business lady!
Thank you to Sally Jarvis & Team. This could't happen without your hard work. You did a fantastic job!


Thank you for stopping by!
Hugs!
Elena xxx


The products used can be ordered in the Noor! Design U.K. webshop:

Tuesday 28 August 2018

Intricate Lace Hello Baby Girl Card

Hello lovely people!

This time I am going to show you a very delicate baby girl card made with stunning Craft&you scrapbook paper. I adore the design of small pink roses sprinkled here and there.


Very easy to make, unpretentious but pretty shabby chick flowers made from silk zephyr foam contribute to the gentle card style. 


The die cuttings made with Scrapman die set enhance the intricate effect of the card.


Wishing you all happy crafting!
Hugs!
Elena xxx


The products used can be ordered in the Noor! Design U.K. webshop:

Tuesday 21 August 2018

Nautical scrapbook mini album

Hi everyone!

Relive your sea-side holiday, those wonderful summer days on the beach. The walks along the coastline and spent watching waves crash onto the shore… 
Influenced by the never-ending blue of the Black Sea I'd like to show you my resent creation, a mini scrapbook album.


The nautical Pion Design collection, which I've used is full of whimsical prints in a beautiful beach palette of sandy beige, see blue, turquoise and brown


Arriving in my native land this summer, I found myself on the beach where I spent three unforgettable days. There I collected some precious sea treasures, seashells and golden sand, which you can see in the front page of my album. 


Lots of beautiful mini flowers embellish my marine mixed media mood board, of course, made from foamiran using a mould and coloured with oil pastels.


Many maritime bits and pieces ware used to create this lovely memory catcher such as the mixed media goodies; the gorgeous tape filmstrip; the amazing Scrapman doilies; a pearl sea-star charm and those gorgeous chipboards from the sea-side collection of Scrapiniec. You can see all of them below. 


 Thank you for stopping by!
Have a wonderful crafty week!
Hugs!
Elena xxx

The products used can be ordered in the Noor! Design U.K. webshop:


Wednesday 15 August 2018

Organza foam rose

Hello lovely people!


I like to challenging myself, so much so for that when Tracy asked me represent the brand new foam and to make a flower with it, I did not waste any time.
Here is it my first and successful attempt making at making an Organza Rose!


The new material is very delicate, transparent, silky soft and feather light . You do not need to use any heat source to shape it. No blisters and bruised fingers any more.


I used a few colours to die the rose and its leaves and believe me, I had so much fun playing with this new foam. I hope you enjoy working with organza foam as much as I've enjoyed.


Thank you for coming around!
Happy crafty week!
Hugs!
Elena xxx


The products used can be ordered in the Noor! Design U.K. webshop:

Monday 6 August 2018

Daisy Flower Tutorial

Hi Everyone!

As I promised you last time, today I'll explain to you how you can complete your Daisy flower.

You will need:
  • Foamiran 0.6 mm, white,
  • 201 Lemon Mungyo Soft Oil Pastel,
  • a half of piece of kitchen sponge,
  • a daisy flower centre,
  • a Daisy mould,
  • an iron,
  • a hot glue gun with glue sticks,
  • scissors.


Cut a rectangular piece of white foamiran big enough to cover the kitchen sponge, at about 7cm x 8 cm approx.


Cover the piece of kitchen sponge as shown.


Heat the rectangular piece.


Quickly press the kitchen sponge with the foamiran into the mould.


 You should have the imprint like this:


Repeat the process and cut 12 small and 12 medium petals. 


Colour the bottom part of the petals with yellow oil pastel.


Apply a drop of hot glue on to the edge of the petal and glue it on the reverse side of the daisy centre as shown.


Clue all 12 small petals into the centre consecutively.


Complete the flower by gluing the larger petals overlapping the first layer.


Roll the edges of the petals backward.


Now your flower is ready. You can make lots of similar daisies flowers. My collection is shown below. 


Here you can see a floral hair comb which I've made with some of the daisies.


I do hope you like and have enjoyed this tutorial.

Have an amazing crafty week!
Hugs!
Elena xxx


The products used can be ordered in the Noor! Design U.K. webshop:

Thursday 2 August 2018

Daisy Flower Centre Tutorial

Hi Everyone!

It is a tutorial time again so I've decided to show you how to make one of the most fragile flowers, a Daisy flower. Daisies symbolise the sun simply because they look like it. These gentle flowers could be a perfect decoration for your scrapbook projects or simply for stylish accessories.
Fortunately, our task won't be difficult because in the www.crafteezee.co.uk there are lots of supplies which will help you to make this beautiful flower.
This tutorial will be split into two parts and today I will show you how to make the centre of the flower. Next time you will see how you make the other part of the daisy flower.
Let's begin!

For the Dairy centre you will need:

  • Daisy Centres Mould,
  • Stamperia Soft Extra Light Clay,
  • 201 Lemon Mungyo Gallery Soft Oil Pastel,
  • 227 Yellow Green Mungyo Gallery Soft Oil Pastel (optional),
  • 208 Scarlet Mungyo Gallery Soft Oil Pastel (optional),
  • a piece of kitchen sponge,
  • a ruler.

From Stamperia Soft Extra Light Clay make 5 mini balls as it is shown in the photograph.


Place the balls of clay in the mould and gently press them to fill the whole area.


 Leave the clay for about half an hour to dry and gently ease the centres out of the mould as pictured alongside. Be careful. Don't squeeze them because they are still soft.  


Using scissors trim the excess bits and leave to dry for 24 hours.


Now it is time to colour the centries using oil pastels and a piece of kitchen sponge. 


 Gently cover all the surface with a yellow shade of oil pastel. If you would like you can apply some green and a hint of red on the edges of the centres. 


Now your centers are complete and are ready to be used for completing the Daisy flowers which I will show you next time.

Thank you for stopping by!
Happy crafting!
Hugs!
Elena xxx


The products used can be ordered in the Noor! Design U.K. webshop:


Blue Extravaganza

 Hello dear friends! I am really into creating fabric flowers for card making and last few months my work is dedicated to this activity. The...