Sunday, 22 April 2018

Mintay card

Hi everyone!

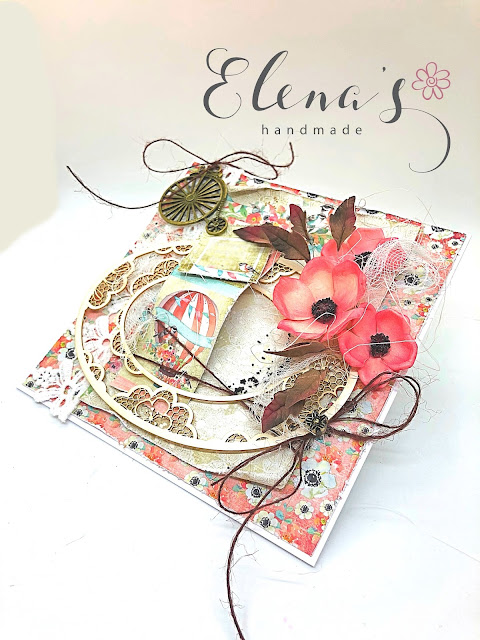
I couldn't resist playing with some beautiful paper sheets and this time I made a birthday card with foamiran flowers. I've used a few adorable Mintay Together double sided 6x6 papers that are in the shop. 


After layering the paper pieces I decided to add a trim of beautiful lace Jacqueline on the left-hand side of my card. 


In the centre of the card, you can see attached a beautiful Wycinanka  Lace Frame 2, which I keep for a long time for 'special occasions' so it was high time used it.


Considering with the paper theme I stuck a brass Penny Farthing embellishment tied up with a brown wax cord. I think It's combined well with the air balloon affixed as a centerpiece topper.


Again my favourite foamiran flowers on the right-hand side of the card. To make them I used some ivory foamiran coloured with oil pastels and cut with Rosy Owl die set (there are a vast amount of strips in the shop so you can choose your favourite) with dark brown foliage which perfectly suits to the card shades.


The flowers are super easy for making but very pretty and spectacular in my mind, suitable for small projects so I'm planning to show you how can you make them next time.


Thank you for stopping by!

I hope you find time for crafting this week!

Hugs!

Elena xxx


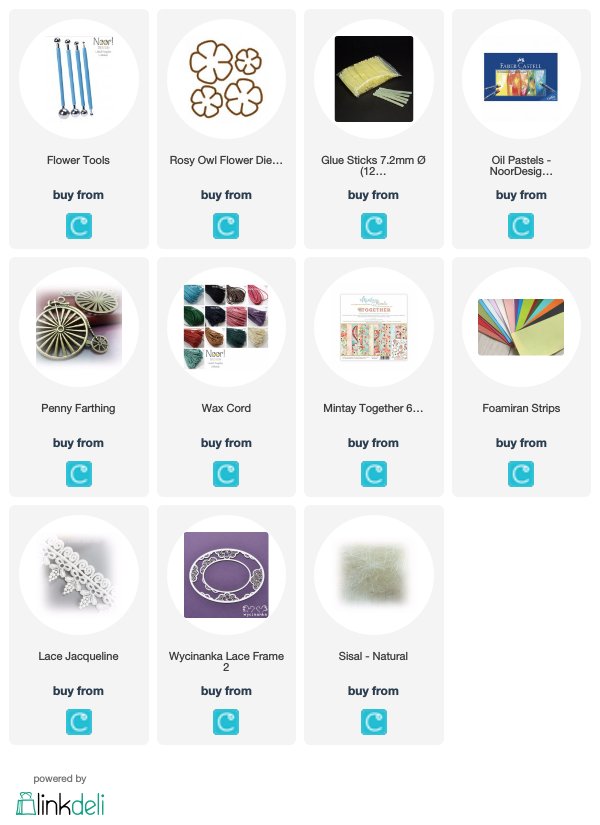
The products used can be ordered in the Noor! Design U.K. webshop:
Friday, 20 April 2018

Simple open flowers TUTORIAL

Hello everyone!

It's time for tutorial today :-) and I'm going to show you how to make this open flower which you can use in your scrapbook projects.


You'll need:
  •  2 strips of foamiran (I chose mint and brown)
  • Rosy Owl Rose dies AC1, second large die
  • Cutting and embossing machine
  • black pen 
  • an iron
  • a glue gun
  • glue sticks
  • scissors
  • a flower making tool set (the biggest ball) and
  • a soft pad (could be a kitchen sponge).


First, cut just one layer out of your chosen foamiran strip. Second, heat each individual petal as I have shown 


and push it with the flower making tool like this:


Repeat this process with each petal to gain this shape:


Fold the whole petal and roll it between your fingers.


After that, restore the shape of the flower by gentle stretching each of the petals. 


Roll the edge of each petal backwards.


Now it's time to create the centrepiece of the flower. Cut a strip 15 cm long and 0.5 cm wide out of brown foamiran.


Cut the strip into short slits, roll it and glue it with a hot glue gun.


Carefully press the bundle of foamiran to the preheated surface of the iron for a few seconds. Pull the stamens off and dishevel it. Repeat everything again until achieving this shape:


Draw some dots in the sentre of the flower as I have shown here:


Attach the stamens in the middle of the flower by pressing it on the sponge.


Voila: 


If you repeat all those steps with a smaller petal you'll have another beautiful flower as well:


Thank you for stopping by!
Wishing you a wonderful week!
Hugs!
Elena xxx


Baby boy exploding box

Hello everyone! 

You know how much I enjoy making exploding boxes! They are really my favourite thing, so there is one more made in order for a little baby boy of course with foamiran flowers :-)


To make this tender box I use Kaisercraft Paper pad, Peekaboo - Boy, which was perfect for my project.   


 Lots of laser cut chipbords embellish the box but there is on special - the 3D baby cradle as a centrepiece. Mums adore it :-)


For the flowers I went with genuine white foamiran coloured with oil pastels and silver glitter stamens. With their gentle beauty they compliment the entire box.


Everything else was a big passion and lots of love implemented on it :-)!  


Thank you for stopping by.
Have a wonderful weekend!
Hugs!
Elena xxx

Sunday, 15 April 2018

Birthday exploding box


Hello everyone!

A few weeks ago I shared a similar box using Craft&You, Vintage Time collection. I love so much making exploding boxes so I had another go, this time with adorable Lemon Craft paper.


To embellish all four sides of the box I used laser cut chipboards, paper lace and mini foamiran flowers. I coloured the flowers this time with Faber-Castell Gelatos, using combo colours such as Red Cherry, Bubble Gum and Watermelon for the pinkish one and Margarita Mix for the greenish one. 


The blue polka dot tea cup was made as a centrepiece. It's a perfect place for my foamiran flower bouquet. 


On the lid of the box I stuck the similar flower arrangement with green sisal which highlighted my gaudy bunch of flower.


Thank you for stopping by!
Have a creative new week!
Hugs!
Elena xxx


Blue Extravaganza

 Hello dear friends! I am really into creating fabric flowers for card making and last few months my work is dedicated to this activity. The...