Tuesday, 26 December 2017

Silver Luster Mini Foamiran Flowers

Happy Christmas Everyone!

Despite the festive atmosphere and as a rest of the permanent celebration with friends and relatives I had another play with foamiran this week and would love to show you the result.

I've created these small flowers as a response of a friend of mine, who asked me recently to show something suitable for small project! So, there it is... little  stunning flowers with bright stamens in the centre, shining such as small suns.


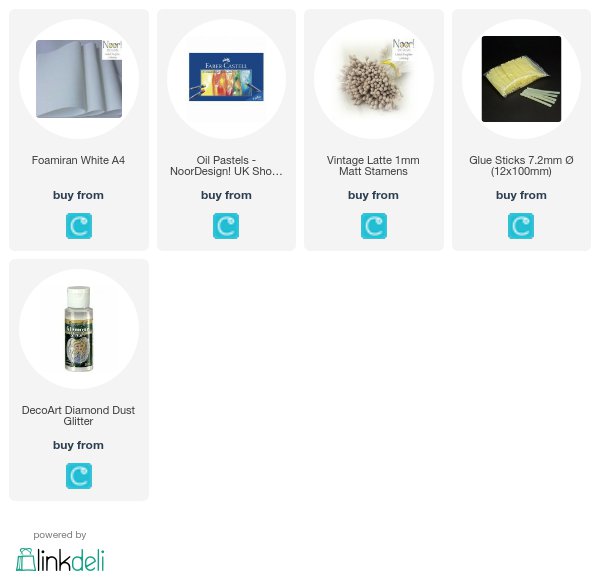
To make them I used two types of foamiran - White and Silver Luster, absolutely  amazing products which you can find in Noor Design online. The petals were slightly coloured with Light Blue and Lilac oil pastels. For the sepals I used Olive Green Foamiran.


To achieve the necessary colour I dyed the red stamens with a hot orange oil pastel and the outcome was more than satisfactory.


Although the petals are small (at about 3.5 cm), I printed them with Hydrangea Leaf Mould, to give them a look of a natural texture.


I can say that I'm happy about the result! What do you think?

I wish you a Very Merry Christmas and a Happy New 2018 everyone!

Hugs,
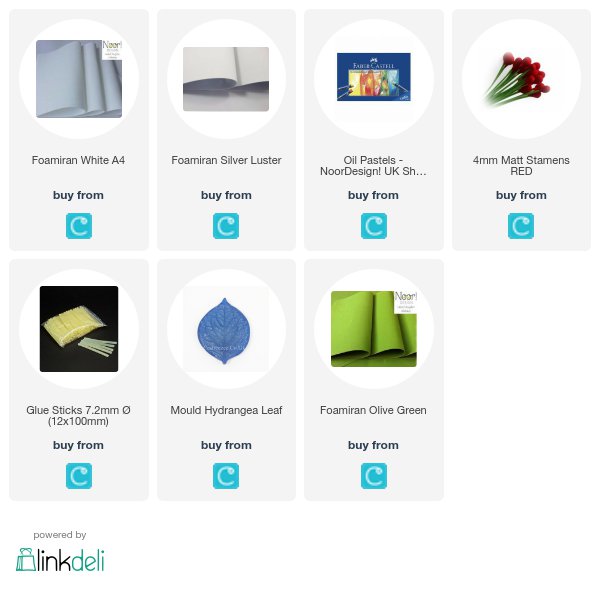
The products used can be ordered in the Noor! Design U.K. webshop:

Thursday, 21 December 2017

Blue Flower Exploding Box

Hello everyone!

I hope you remember my pale-blue foamiran flowers I’ve showed you on Tuesday. I did those flowers to decorate a gift exploding box which was ordered recently.

Now I’ve got a chance to present you this stunning project.


To make it I've used Stamperia Winter Woods scrapbook paper which is absolutely stunning! I really love those colour combination and the amazing printed motif of winter houses !


Those pale-blue foamiran flowers were made by me for the Noor Design blog and to make them I used genuine white foamiran, vintage latte mat stamens 1 mm all bought from www.crafteezee.co.uk


The foliage is all die cut from ''Holiday Greens mini'' by Sizzix Tim Holtz'' die set.


Variate of lasercut chipboards such as snowflake, Christmas ornament, holly wreath and stars embellished every side of my box.


In the centrepiece you can see a small jewelry box made to store a bracelet. The lid was decorate the same style as the lid of the exploding box.


I'm really proud with the centres of my flowers!!!  I made them out of ear drying clay and gray holographic glitter. 


All other additions are natural sisal, ribbons, different pastes with frosty effects, crystals which contributed  for the beautiful look of the box!


Thank you for coming around! 
I wish you the most wonderful Christmas! 
I'll come back very soon!

Hugs,
Elena
Challenges: 


Monday, 18 December 2017

Pale-Blue Foamiran Flowers

Hello everyone!

There are just a couple of days until Christmas! It's one of the most exciting and magnificent holidays of the Christian calendar!!! The world is in feverish preparation! This is a miraculous time when people are in joyful expectation of the silent and holy night!  


In this special time of the year I would like to show you my delicate pale-blue Fairy Foamiran Flowers made to adorn a special gift box. They were made out of white 0.6 mm foamiran and coloured with light blue oil pastel and little light brown finishing touches.

Here they are - simple but stunning!


Merry Christmas everyone!

Hugs,
Elena xxx


The products used can be ordered in the Noor! Design U.K. webshop:

Friday, 15 December 2017

В навечерието на Коледа


Здравейте!

Кръстих така проекта си, защото наистина останаха броени дни до този любим на всички ни празник - Коледа!
Преди да отпътувам за родината, където ще прекарам няколоко седмици с любими за мен хора, направих коледни картички, с които да ги зарадвам и да добавя към вече купените подаръци :-). Тази е една от последните, които сътворих!


Казах "една от последните", защото наистина използвах последните листчета от LemonCraft Christmas Greetings. Останалото все още имам в достатъчно големи количства за да остане и за следващата коледна партида картички, но пък кой знае, може би тогава ще ми дойдат други идеи в главата :-)


Та...както можете да видите, картичката е обилно декорирана с мъх, естествени влакна, малки шишарки и захаросани плодчета.


Красивите къщички, които се виждат на заден план са лазерно изрязани чипбордове на прекрасната Дани Ангелова, собственичка на фирмата ФАБРИКА ''Водно конче'', която изработва изумително красиви фигурки от бирен картон.


Разбира се, не съм изменила на себе си и съм поръсила всичко обилно с брокат, кристали и изкуствен сняг, без да пестя, за да създам тази прекрасна илюзия за снежна приказка!


Благодаря, че се отбихте отново в блога ми! Надявам се да оставите коментар :-)
Желая весели празници и моного незабравими моменти с близките ви хора!
До скоро!

Прегръдки,

Wednesday, 13 December 2017

Christmas tree cards


Hello Everyone!

There are couple of Christmas round cards made yesterday using enchanting LemonCraft Christmas Greetings paper pad and hand cut trees out of birch bark. All this started when I found two pieces of birch bark at the bottom of my craft container :-)


The colour combination is a bit strange for Christmas projects, I know, but I love using unusual shades :-)


Lots of glitter, crystal bids and frosty effect pastе give to my cards glamorous look. In addition some moss, birch cones, white and brown berries, natural sisal are a mandatory complement to them.

Monday, 11 December 2017

Mini Blue Flower Tutorial

Hello everyone!

I'm here with my new tutorial for you!
Today I'm going to show you how to make those gentle mini flowers which I've used to decorate my Bоuble Christmas Card!


 So let's start!

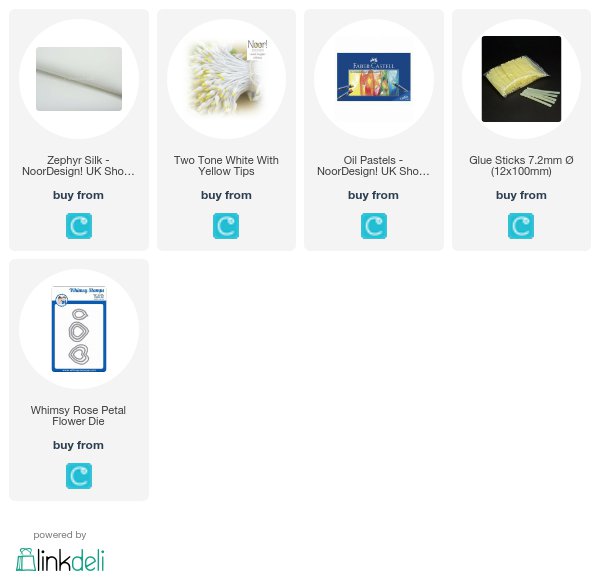
First of all, you need a piece of  Zephyr Silk Foam! As I said previously it's very soft and easily manipulated foam and you don't need any iron to shape it!

You already know that I'm a happy owner of the Whimsy Stamps Rose Petal Flower Die Set and I would love to use it again. These dies give such unlimited possibilities!!!


Cut out 3 petals of the smallest die shape.


Using light blue and yellow oil pastels from your set, colour the petals like this on both sides:


Now it's time to shape our petals. You can make this by gently stretching the foam with your fingers on the top side of the petal. I did it in the three points along the edge:


In this picture below you can see the folds in progress:


Next step is to fold 2 double head stamens and glue their strings together.  In this way you'll create a little stem. 


After, assemble the petals around the stamens overlapping. You can see how can I adhered
the first petal...


the second one...


 and the third one.


There is my whole little flower.


And some more:


Have a lovely week all of you!


Hugs, 

Elena xxx


The products used can be ordered in the Noor! Design U.K. webshop:


Thursday, 7 December 2017

Коледна експлодираща кутийка

Здравейте!

Днес реших да ви покажа една експлодираща кутийка поръчана от млад господин за любимата му сестра. Едвам успях да го разубедя да не е в червено и черно!  
Мъжете обожават тези два цвята, но не ми е ясно защо са решили, че те са любими и на жените! Със сигурност са предпочитана комбинация от доста дами, но аз определено не съм в тази група!!!

Кутийката е в коледен стил, но не в типичните коледни цветове, а в ...розово, кафяво, пудра и златно :-)! 

Още в началото приготовленията ми за тазгодишния празник не тръгнаха в традиционния коловоз...имам предвид цветовете :-). Все посягах към хартии и бурканчета с боя нехарактерни за Коледа. 

Въпреки всичко, мога да се похваля с факта, че оставих един мъж безкрайно очарован от червено-черния прототип, който беше поръчал.


За съжаление, не мога да покажа цялата кутийка, защото има много лични снимки в нея, но ето част: 


За направата и използвах основно дизайнерска хартия 12"х12" на Teresa Collins, Santa's List. Обичам този десен, защото дава страшно много възможности за комбинации. Хартията би могла да се съчетае с както с традиционните за Коледа цветове, така и с много други, както е в случая.


Освен снимките и текста, които заеха всички страни на кутията, в средата, по поръчка на клиента, направих малка кутийка с формата на фотоапарат - любимото хоби на сестра му. Дървената щампа на капака пасна идеално на цялостния дизайн.


 Няма как да пропусна да спомена цветята от фоумиран :-)! Обичам да украсявам проектите си напоследък с тях. Наистина е много приятно да видиш как от едно парче мека гума се появяват такива изящни създания, които подчертават красотата на изделието!


 Цветята направих от 2 цвята фоумиран - бял и светлокафяв, а за оцветяването използвах маслени пастели Mungyo.


Нещото, от което не мога да се откажа, когато изработвам коледни проекти е да ръся брокат с шепи :-)! Тук ясно можете да видите всякакъв вид блестящи акценти -  кристални сферички, заскрежени пасти и много брокат.


Крайния резултат :-)


 Благодаря ви, че се отбихте отново!
Отдайте се на коледната еуфория и оставете празничния дух да ви завладее напълно!

Прегръдки от мен,


Blue Extravaganza

 Hello dear friends! I am really into creating fabric flowers for card making and last few months my work is dedicated to this activity. The...